Local Installation
Local Installation of the Screenster Server
You can download installation file here
Supported browsers and OS
Screenster enables testers to record and run tests in real browser instances inside of the platform. The three currently supported browsers are Google Chrome, Mozilla Firefox, and IE.
In order to ensure that IE will run smoothly on your local machine please do the following after installing Screenster:
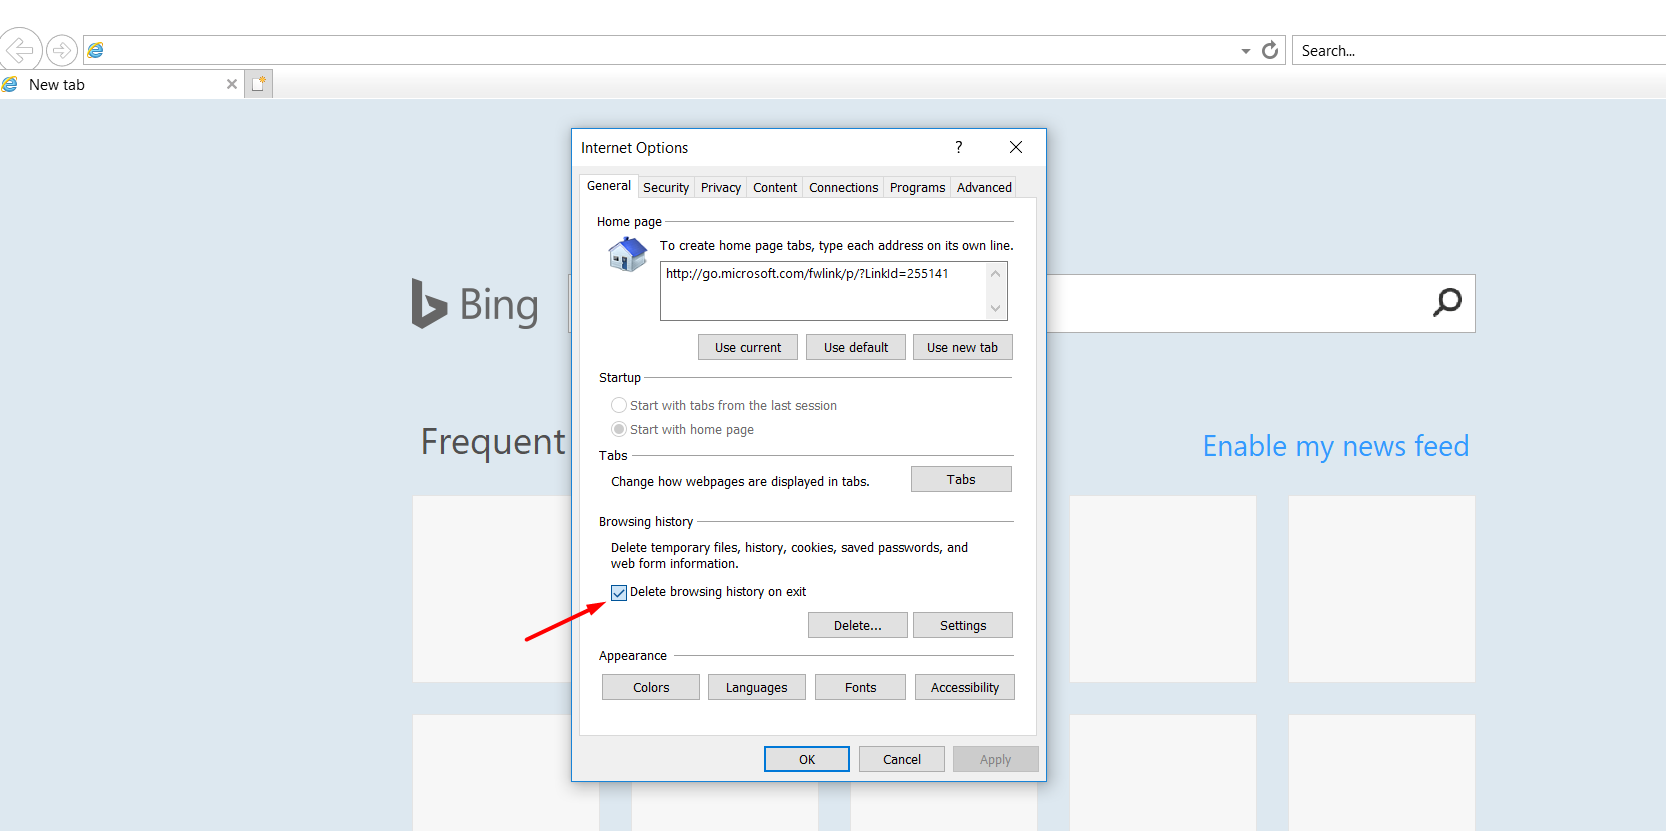
- Open IE, go to Settings > Internet Options > General and make sure the “Delete browser history on exit” option is checked.
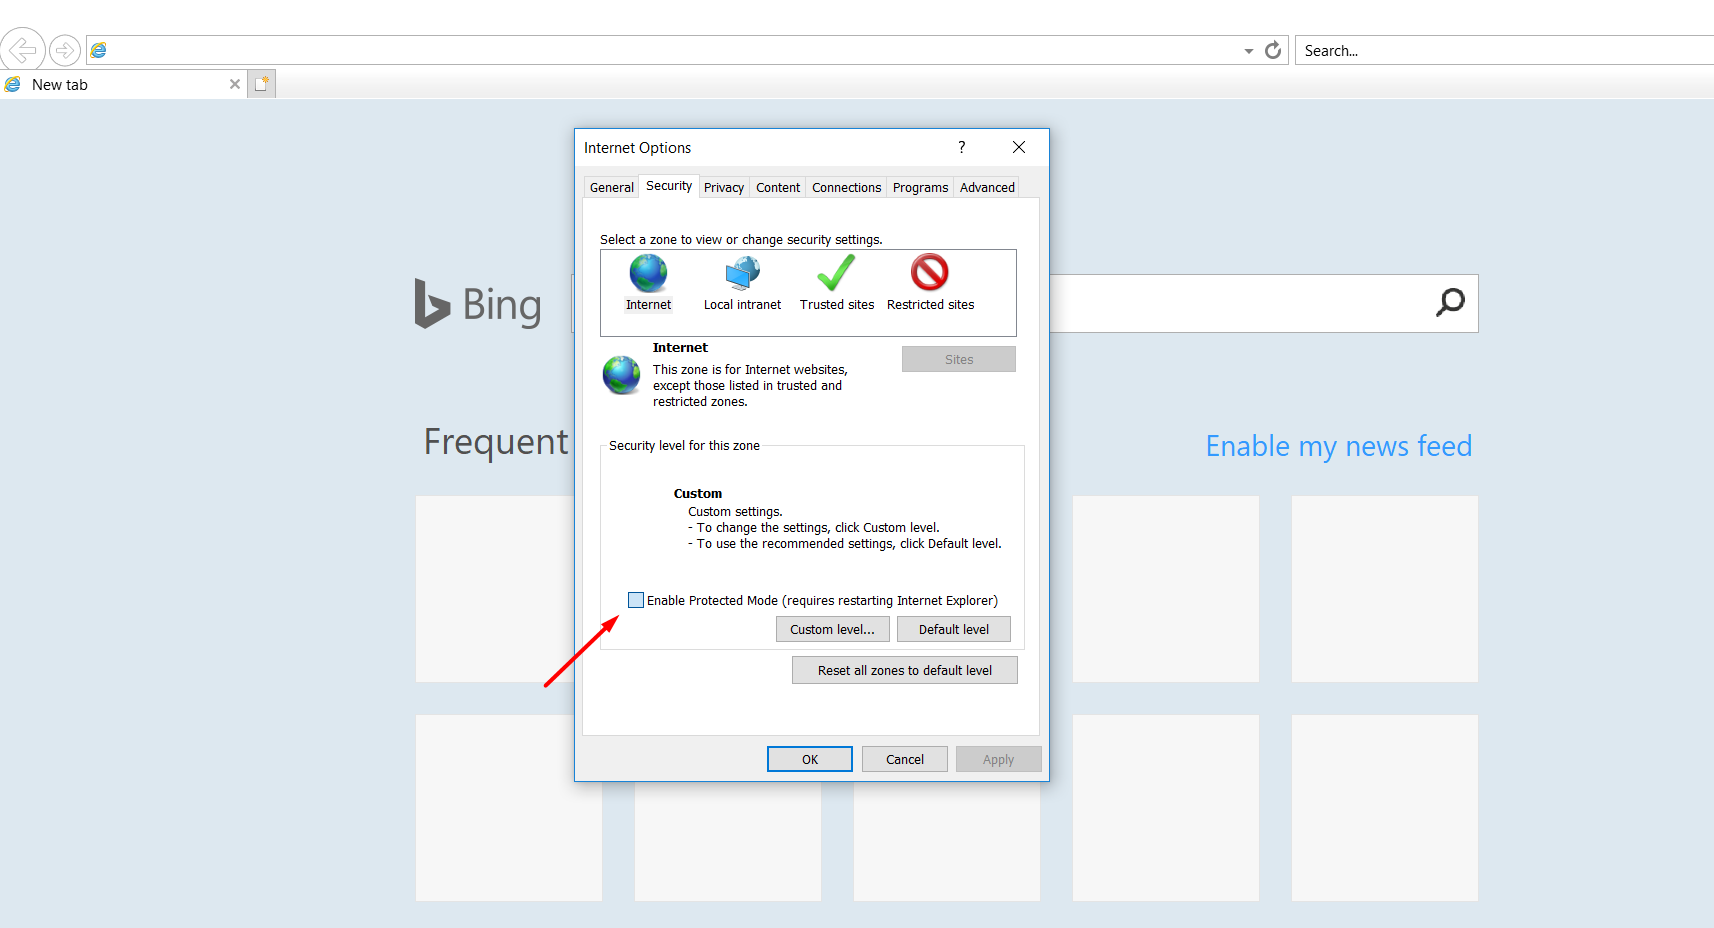
- Switch to the tab Settings > Internet Options > Security and make sure that the “Enable Protected Mode” option is NOT checked for each zone (“Internet”, “Local intranet”, “Trusted sites”, “Restricted sites”)
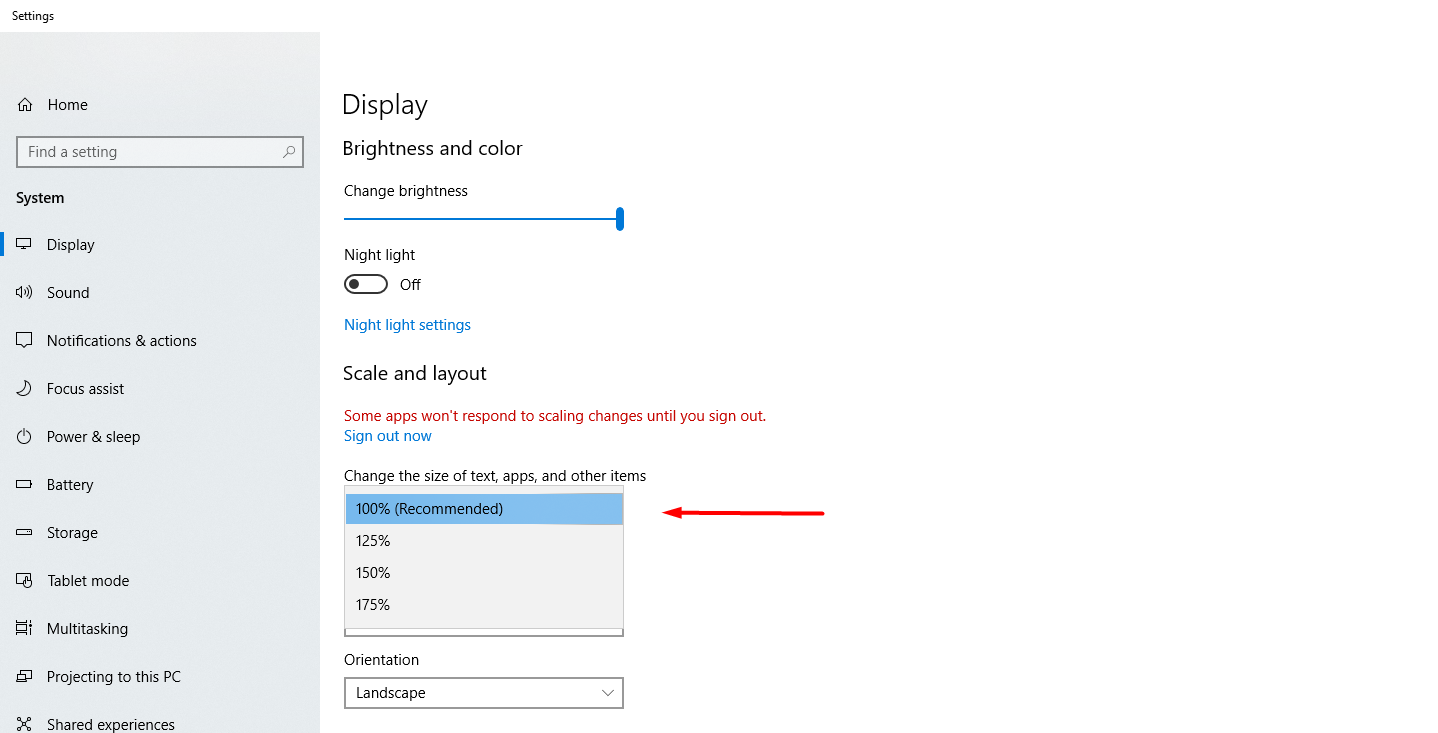
- Open Display Settings on your desktop and make sure that you have the “100% (Recommended)” option selected in the Size dropdown.
- You’re good to go!
The current version of the Screenster server requires Windows, with Linux support coming soon. We recommend that you install Screenster on a standalone server or a VM that is a part of your CI environment.
System requirements
| Operating system | Windows 8, Windows 8.1, Windows 10, Windows Server 2012, Windows Server 2016 |
| Memory | 2 GB RAM |
| Video display | 1024 x 768 |
| Disk Space | 5 GB |
User access rights
Screenster installation requires admin rights, so if you installed it on your machine, there should be no problem running it. If somebody else performed the installation, make sure you have the admin rights to launch the server under your current account.
In rare cases, changes to your local security settings may influence your access rights. If your access rights have been modified, reconfigure them by following these steps:
- Find the Screenster service in your Local Services folder
- Stop the service if it is running
- Right-click on it and select Properties
- Go to the Log On tab and select the This account option
- Click on Browse to add your account (unless the fields are already pre-populated)
- Find a necessary account name by browsing locations or by checking available names after typing some hint
- Re-check the password and save your changes
- Restart the Screenster service
- Try to open localhost:7070 – it might require a couple of minutes for the service to start. After the page has opened, you can log in with your Screenster credentials
Visit the Release History page to check what is new and what has been improved in the current version of Screenster.